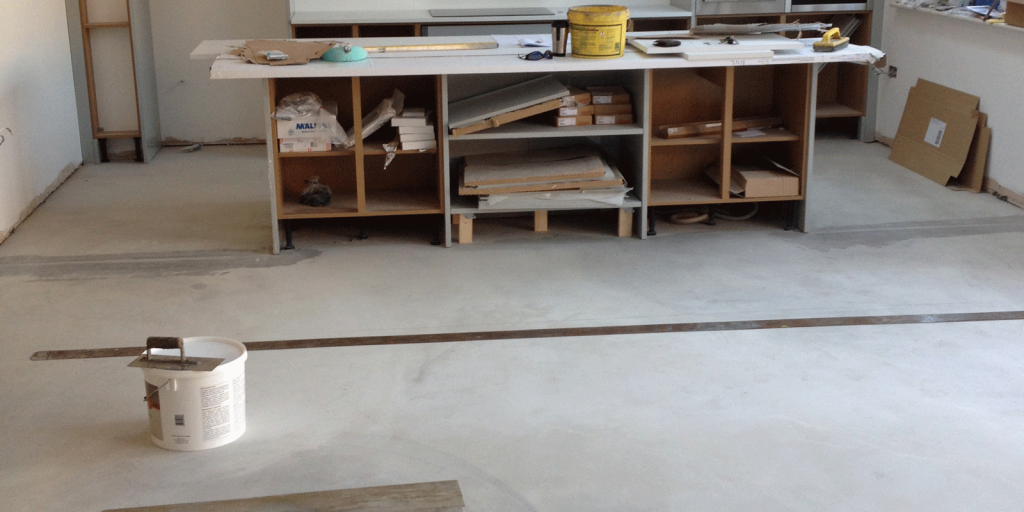


Subfloor Prep
Good installation practices are essential for the success of any finished floor. Prepping the subfloor correctly is key. A properly prepared subfloor will be clean, dry, level, and structurally sound – all characteristics that will help ensure a lasting, worry-free floor installation.
See what our clients say in our testimonial area and give us a call today to see how we can help you.
Tip and hints...
Understand your sub floor – is it timber or concrete? This will make a difference to what materials will need to be ordered to do any work.
Sub floor prep is crucial and will effect the final floor covering in most cases.
All advice is FREE so please check anything with us.
What door thresholds will you be using?
How to prepare a subfloor for hardwood:
- Clean the subfloor as necessary. Before installing the hardwood flooring, the subfloor must be as clean as possible. Spilled paint, adhesives, or other coatings, as well as dust and debris, can mar the flooring installation if not cleaned away.
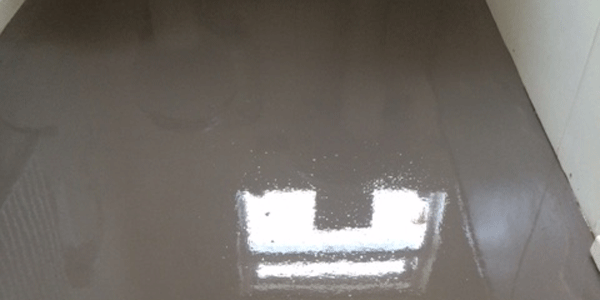
- Ensure that the subfloor is as level as possible. A level subfloor will ensure that your hardwoods fit together neatly and do not creak or sag.
- Check the moisture level of the subfloor. Excess moisture in the subfloor can cause hardwood floors to warp, while excessively dry subfloors can lead to cracked, creaky floors. You should assess the moisture level of the subfloor before installing the hardwood.
-
Assess the subfloor’s structural integrity. The subfloor’s job is to spread the load of everything in the room (including the flooring, furnishings, and people) evenly across the floor joists. It should be structurally sound before the hardwood flooring is installed.
- Proceed with the flooring installation.